IDS Capture Quick Start
Help & How-To: A Guide for the IDS Capture APP
Connect
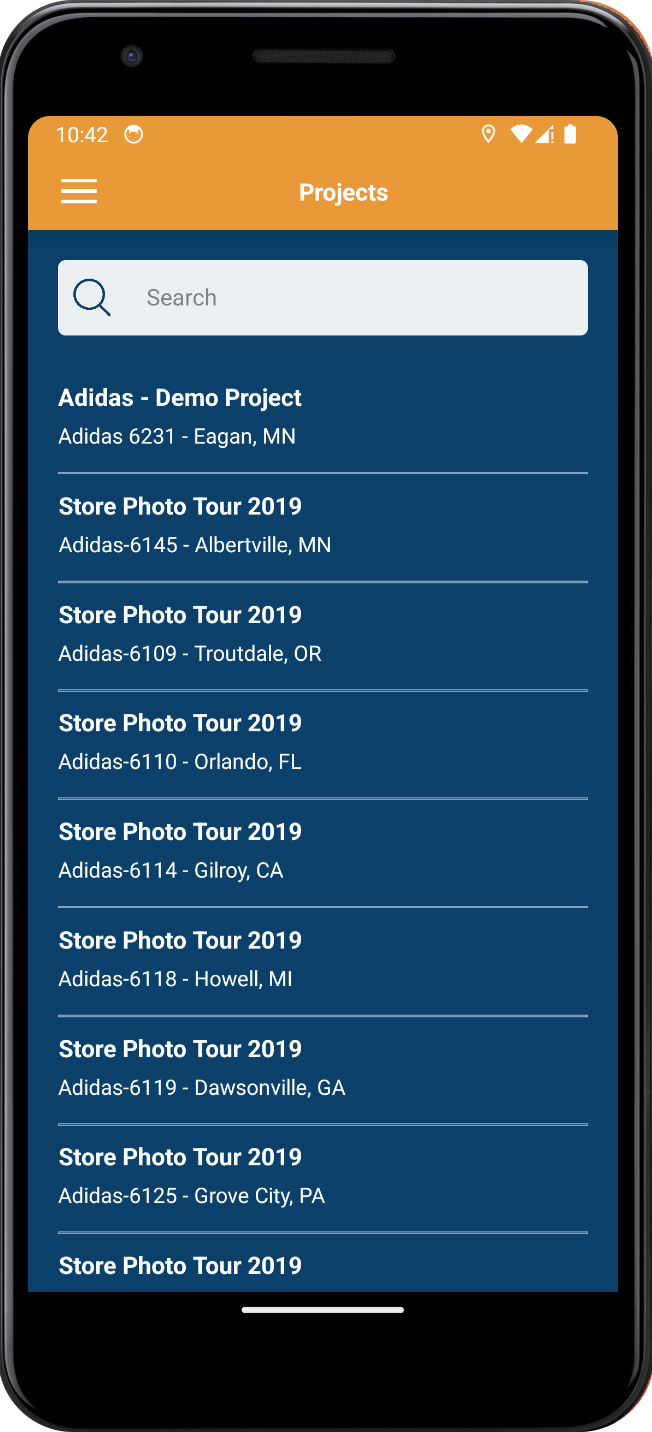
Select Project
After selecting an organization, you will see all projects that you have access to. Select the project you would like to begin working on.
(See “Capture” Section)
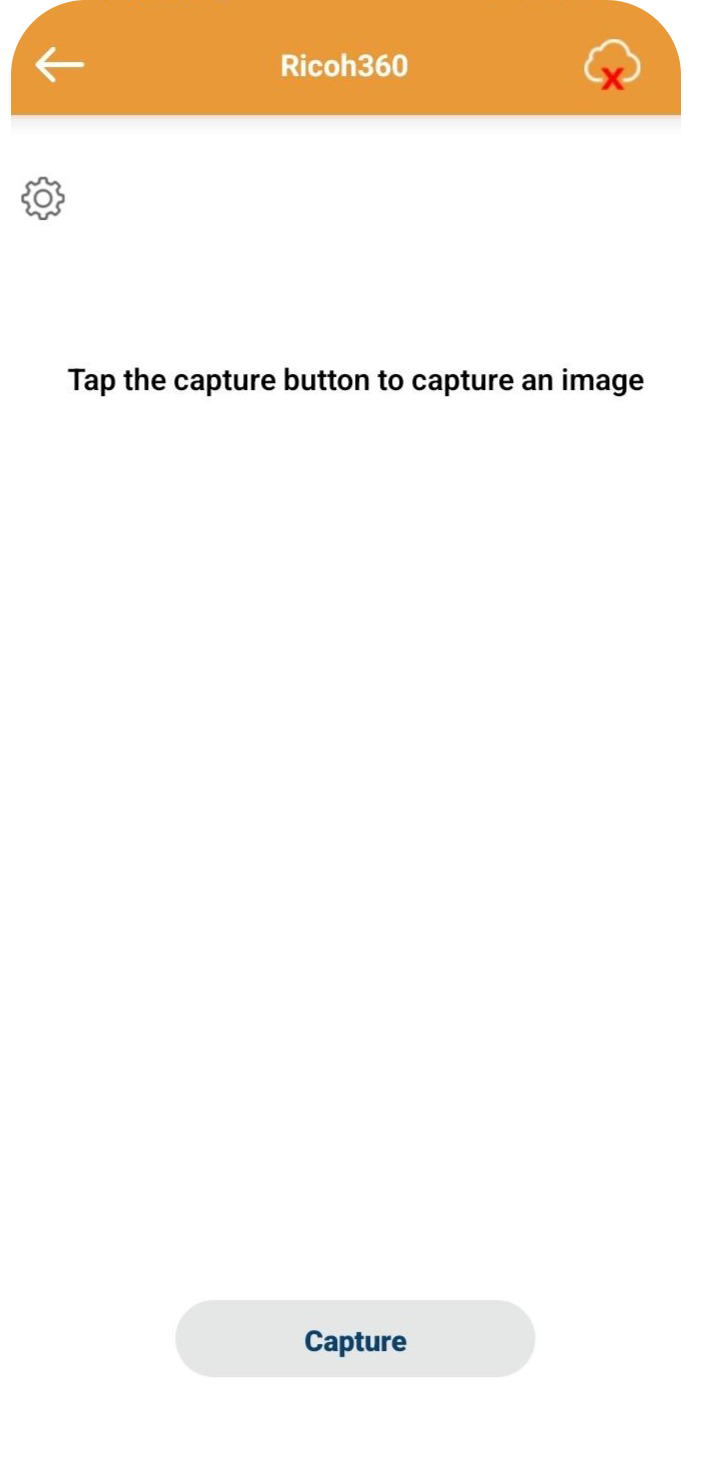
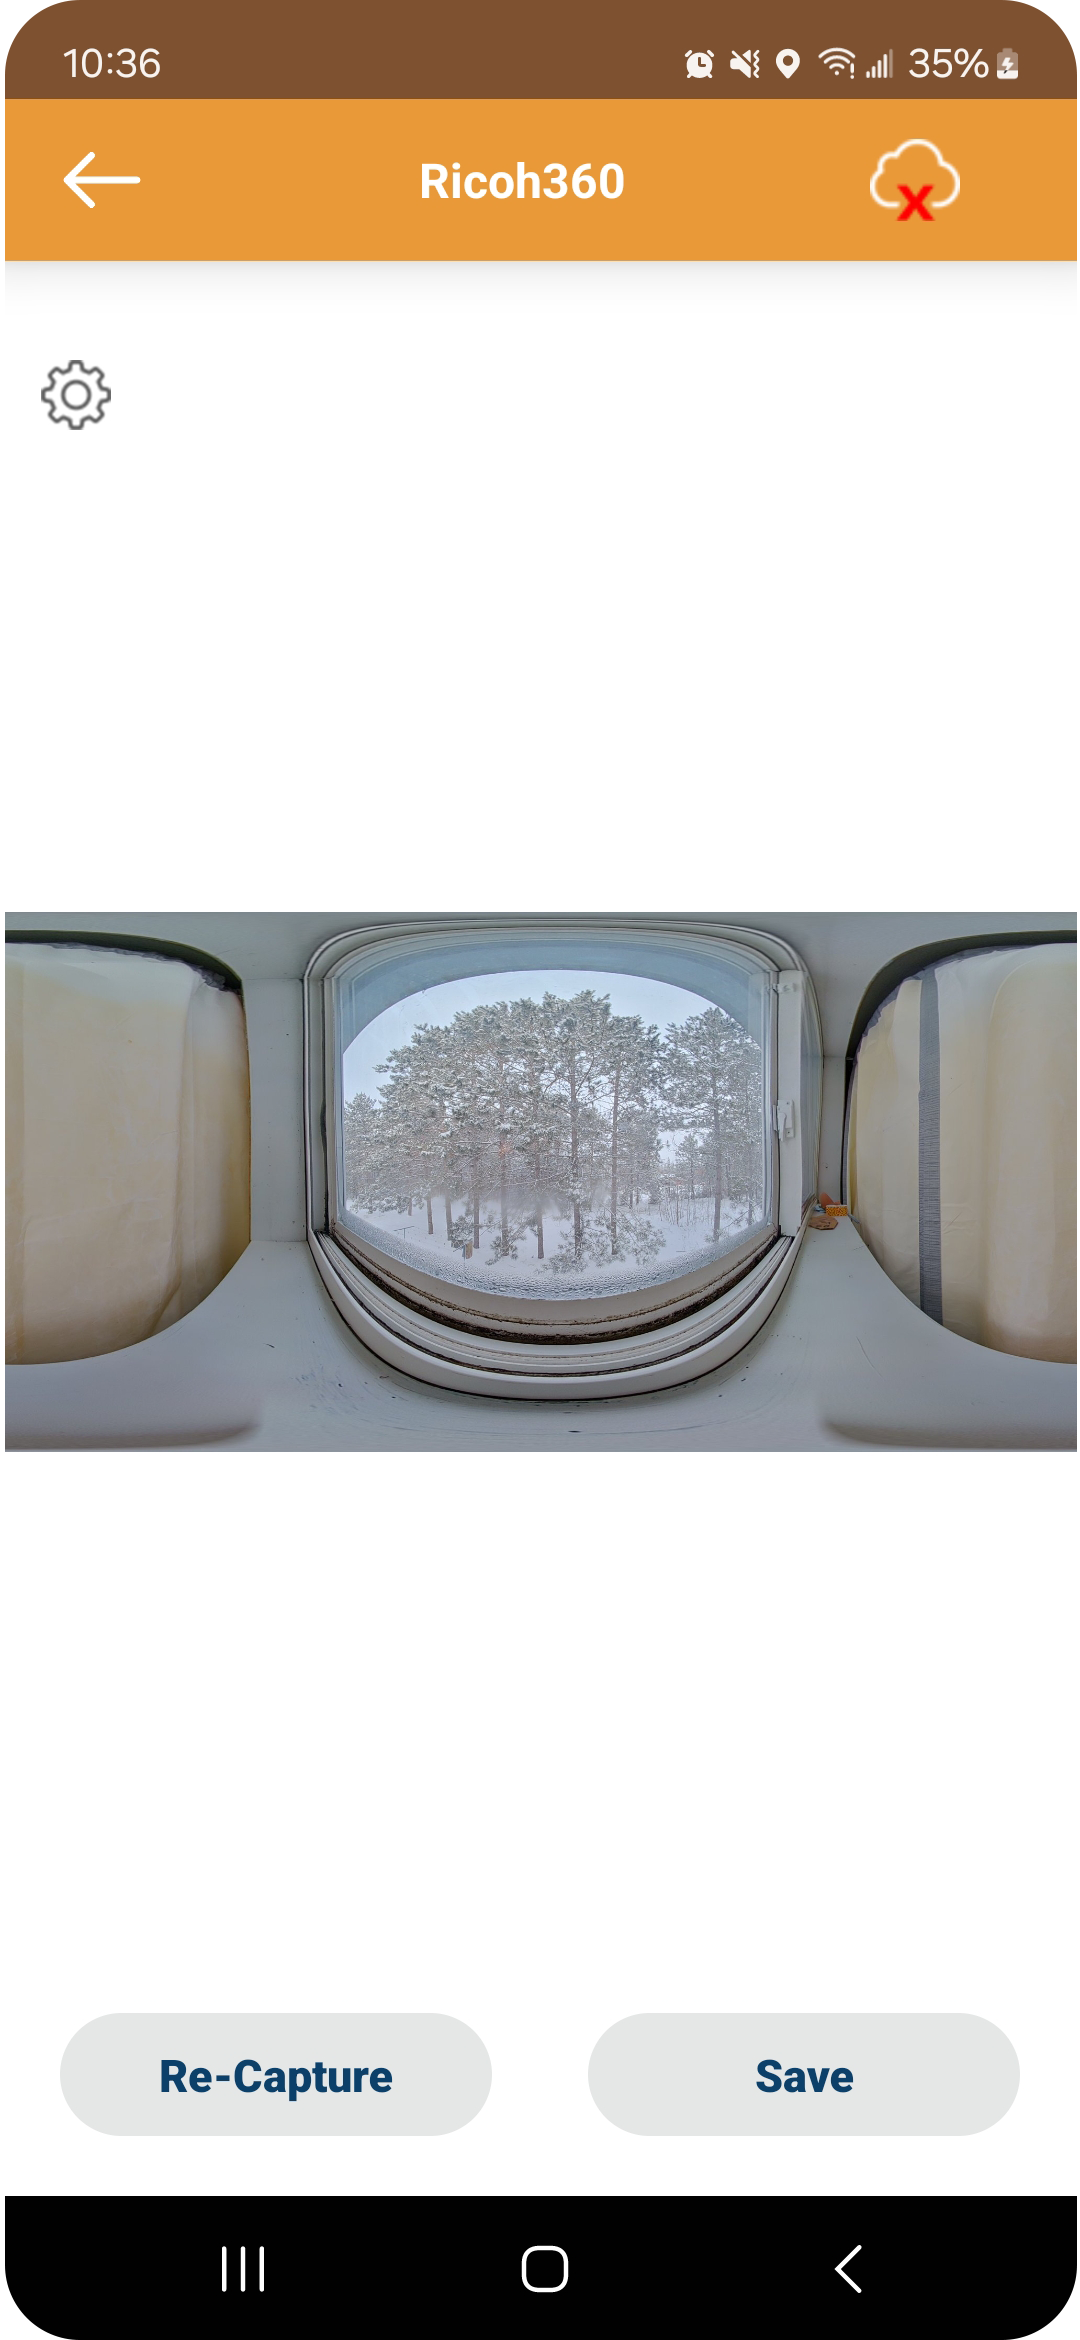
Capture
Using 360 Camera for iOS
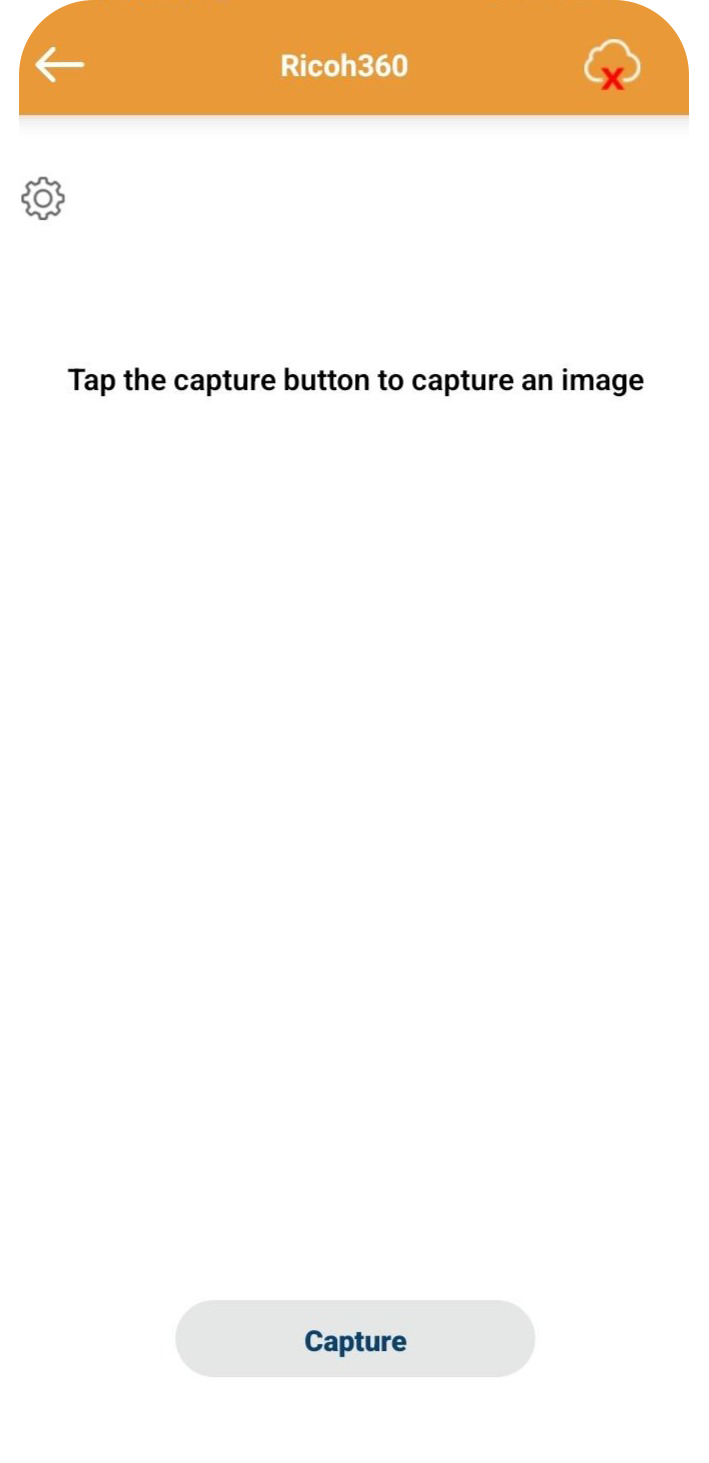
Connection to 360 camera is made via the camera’s internal WiFi.
1) Power on 360 camera
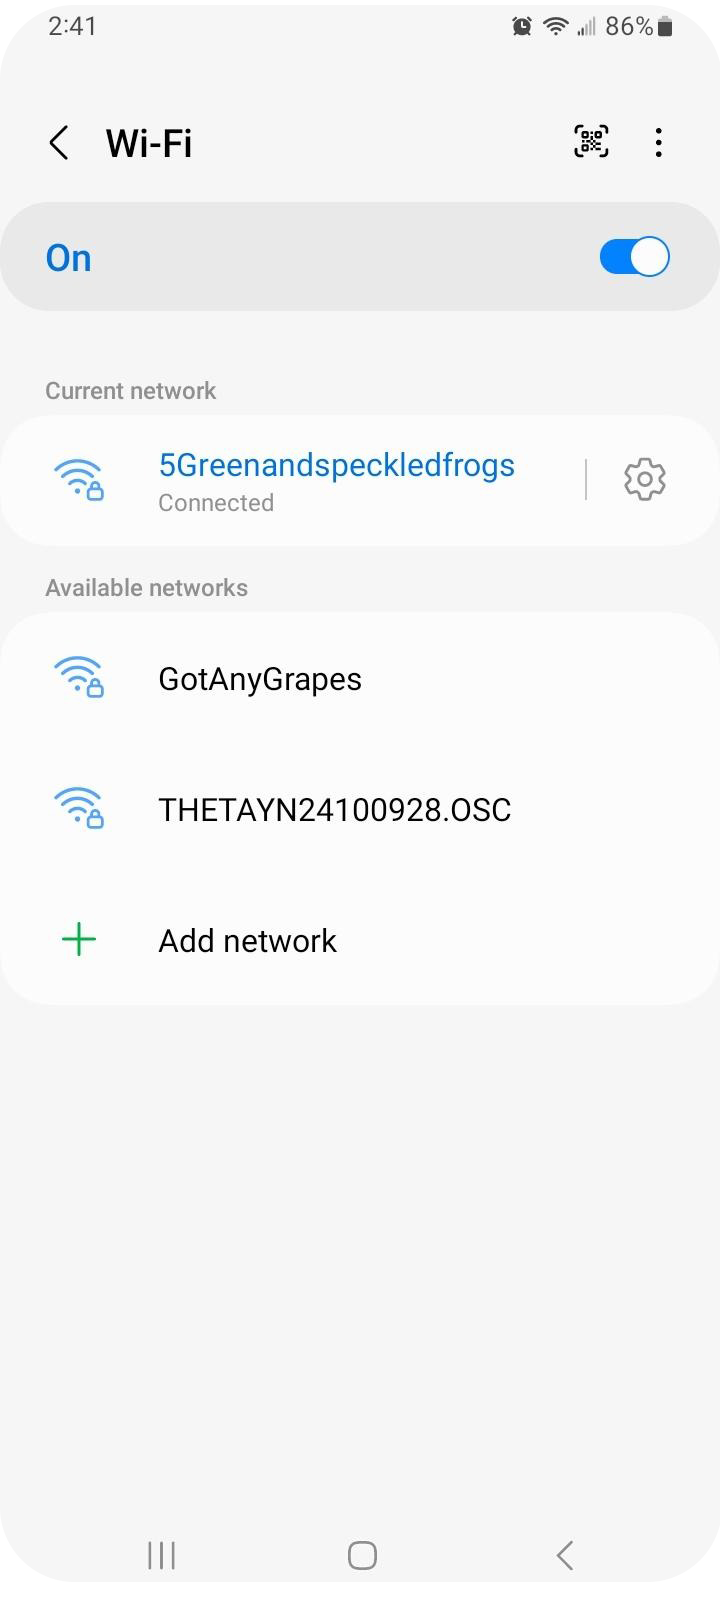
2) Open your iOS WiFi settings.
3) Select the SSID with “THETAxxx.”
4) Enter password (default camera password is the numbers at the end of the serial number located on the bottom of the camera. Example –XS00258448 Password = 00258448. For more detailed information visit Detailed WiFi instructions.
Using 360 Camera for Android
Connection to 360 camera is made via the camera’s internal WiFi.
1) Power on 360 camera
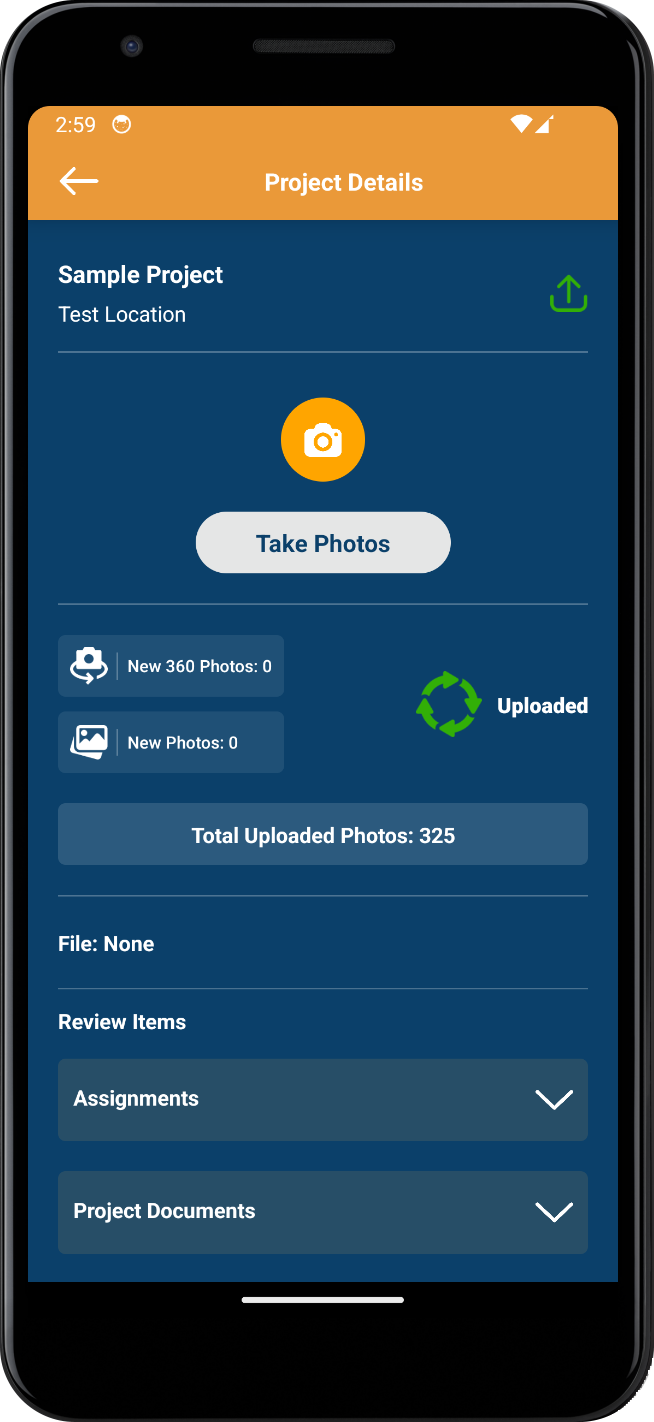
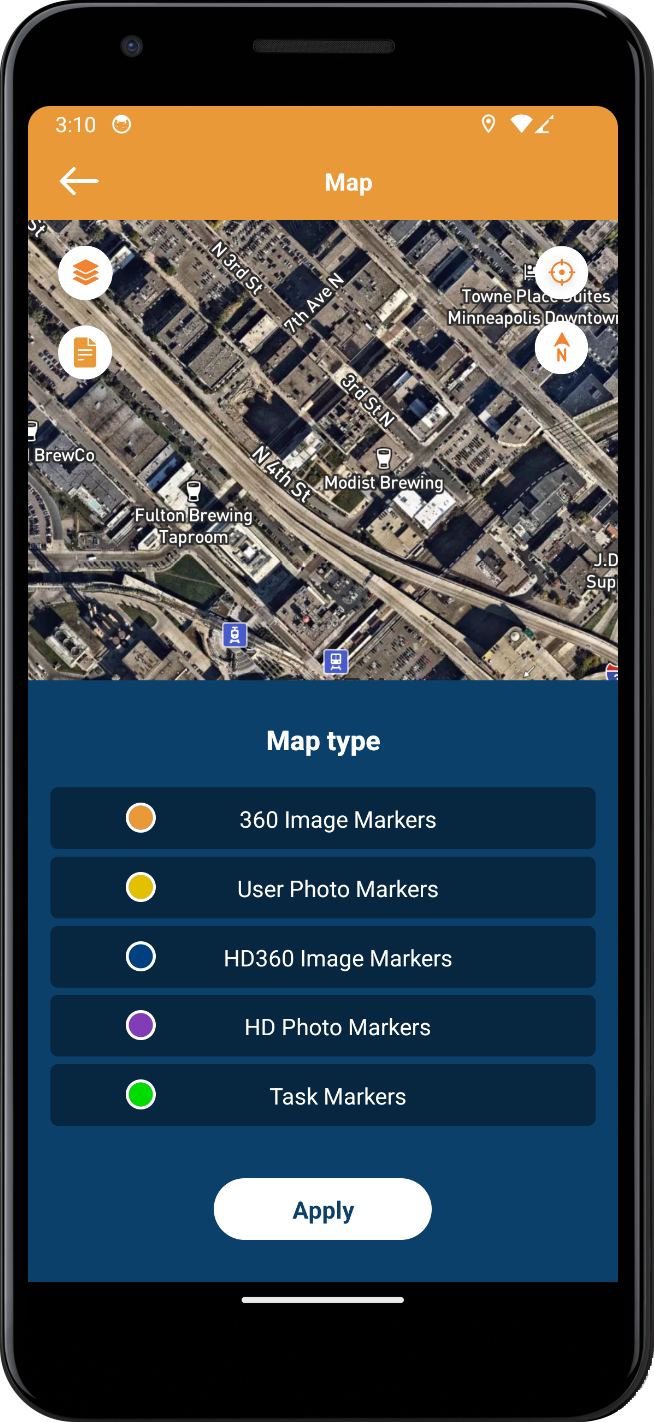
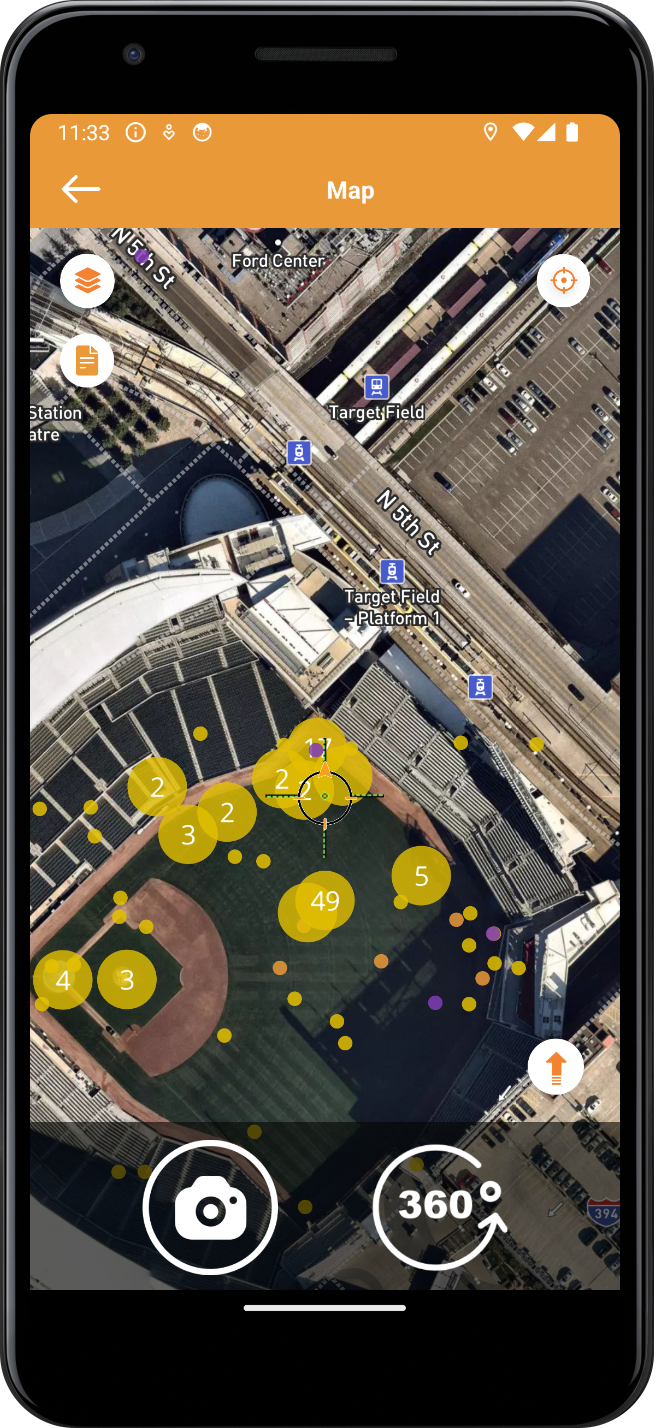
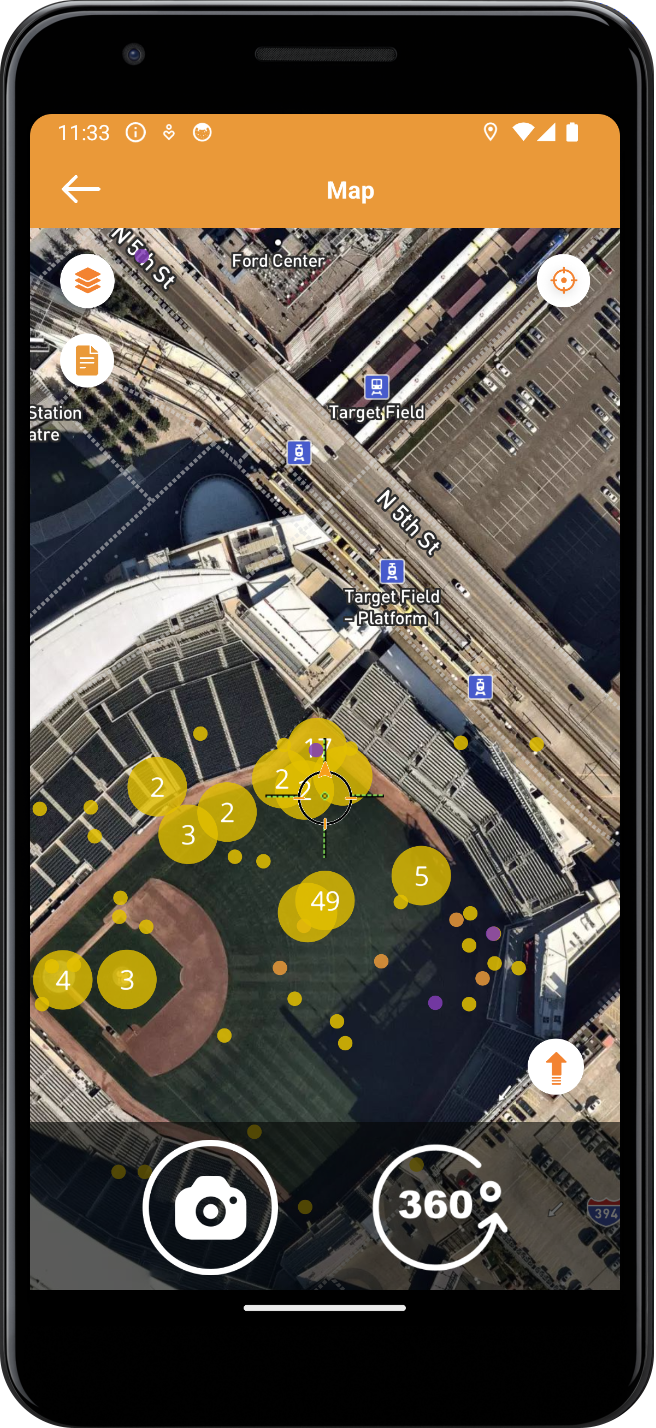
2) Select the 360 image icon from map view.
3) Select the SSID with “THETAxxx.”
4) Enter password (default camera password is the numbers at the end of the serial number located on the bottom of the camera. Example – XS00258448 Password = 00258448. For more detailed information visit Detailed WiFi instructions.
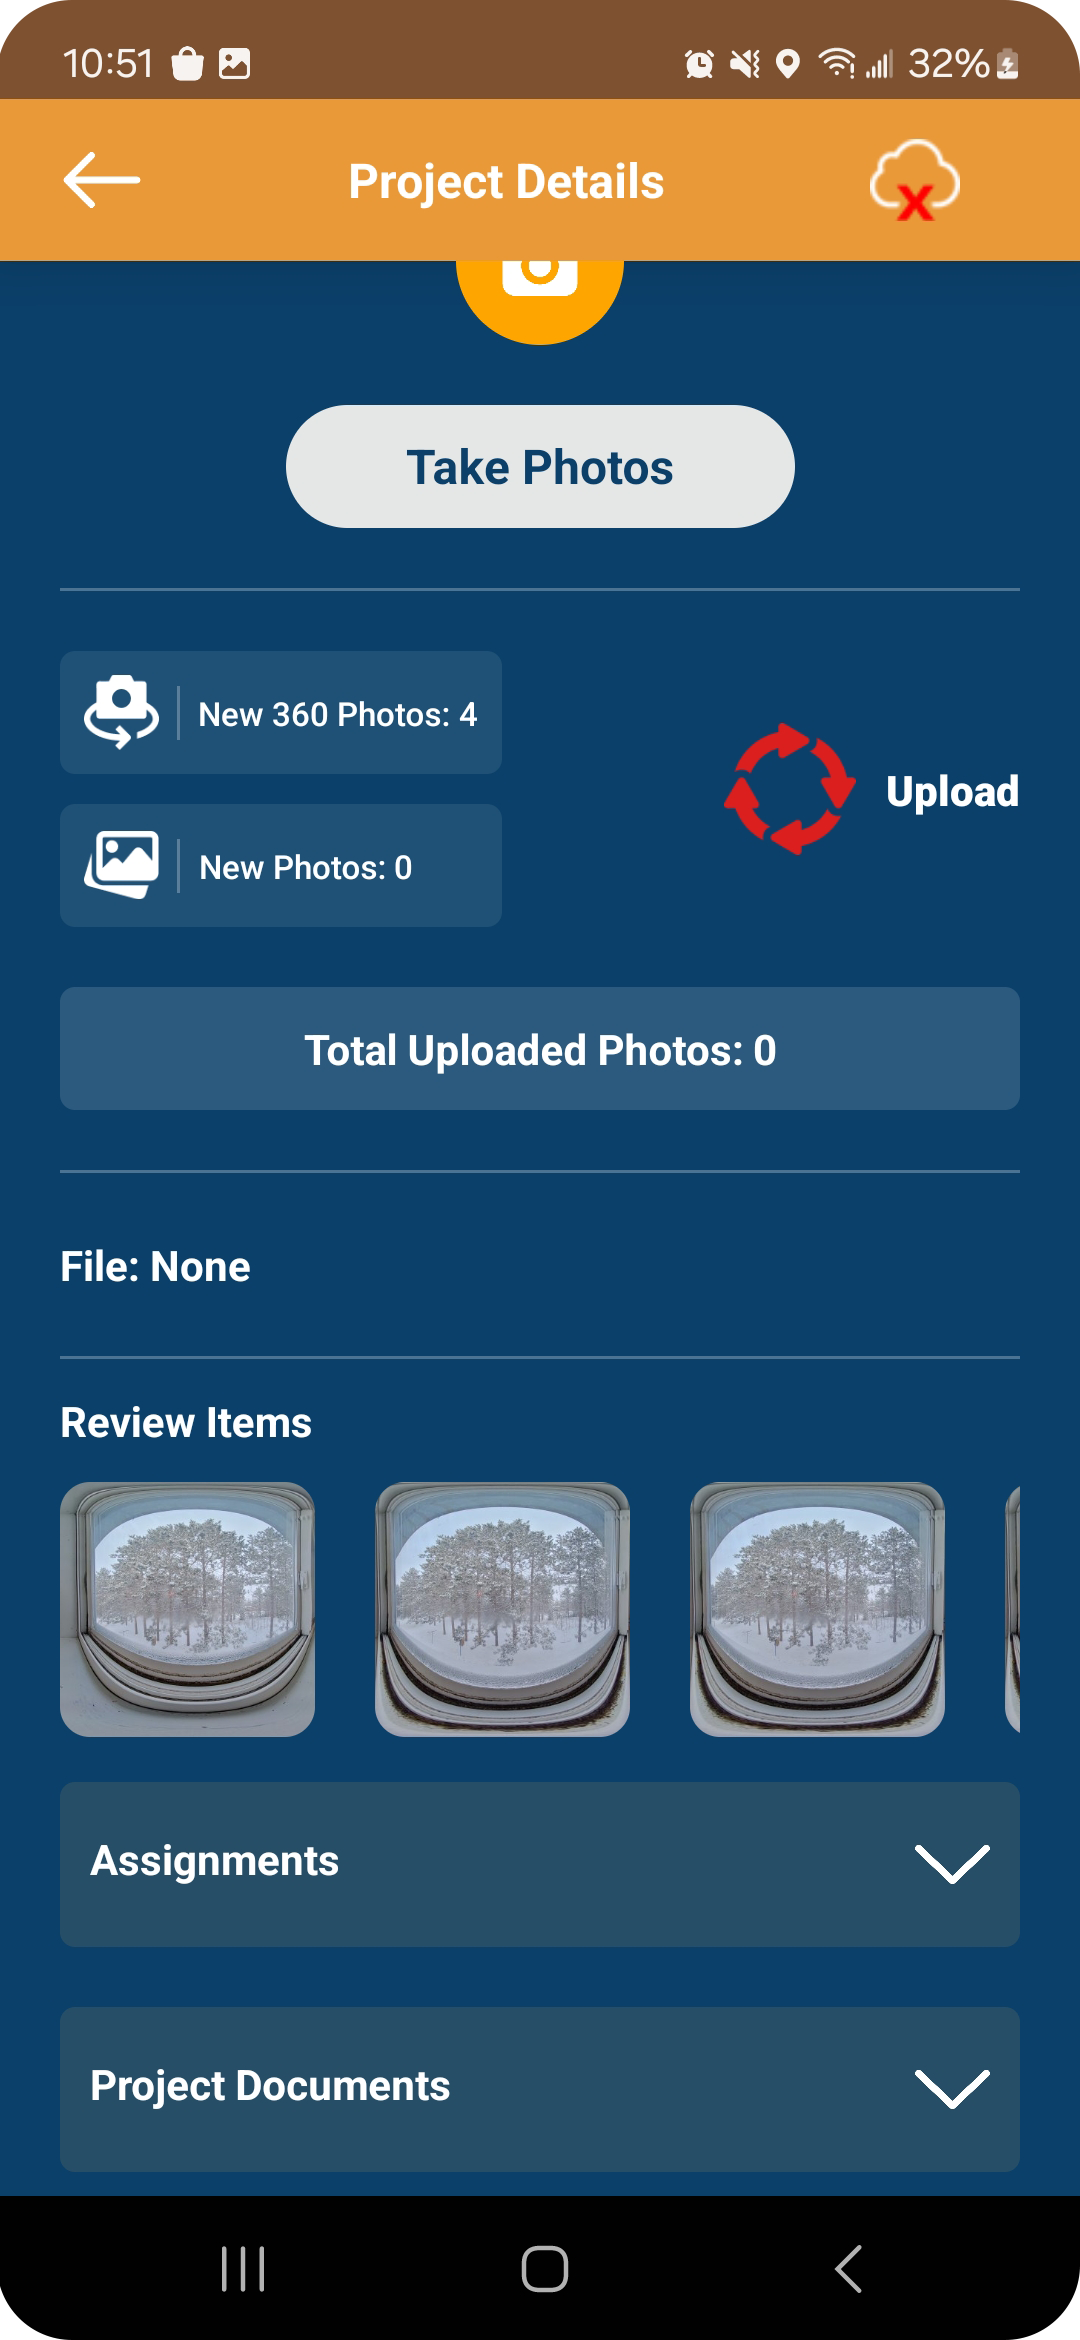
Review & Upload
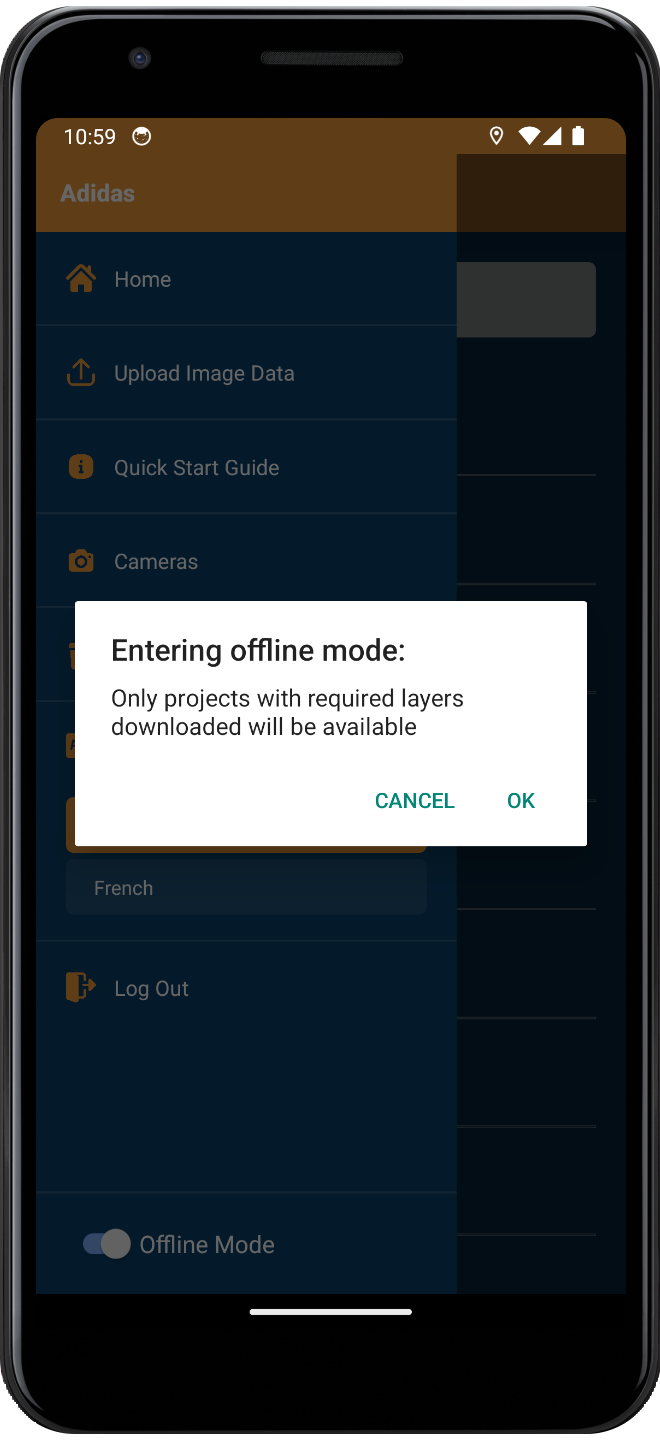
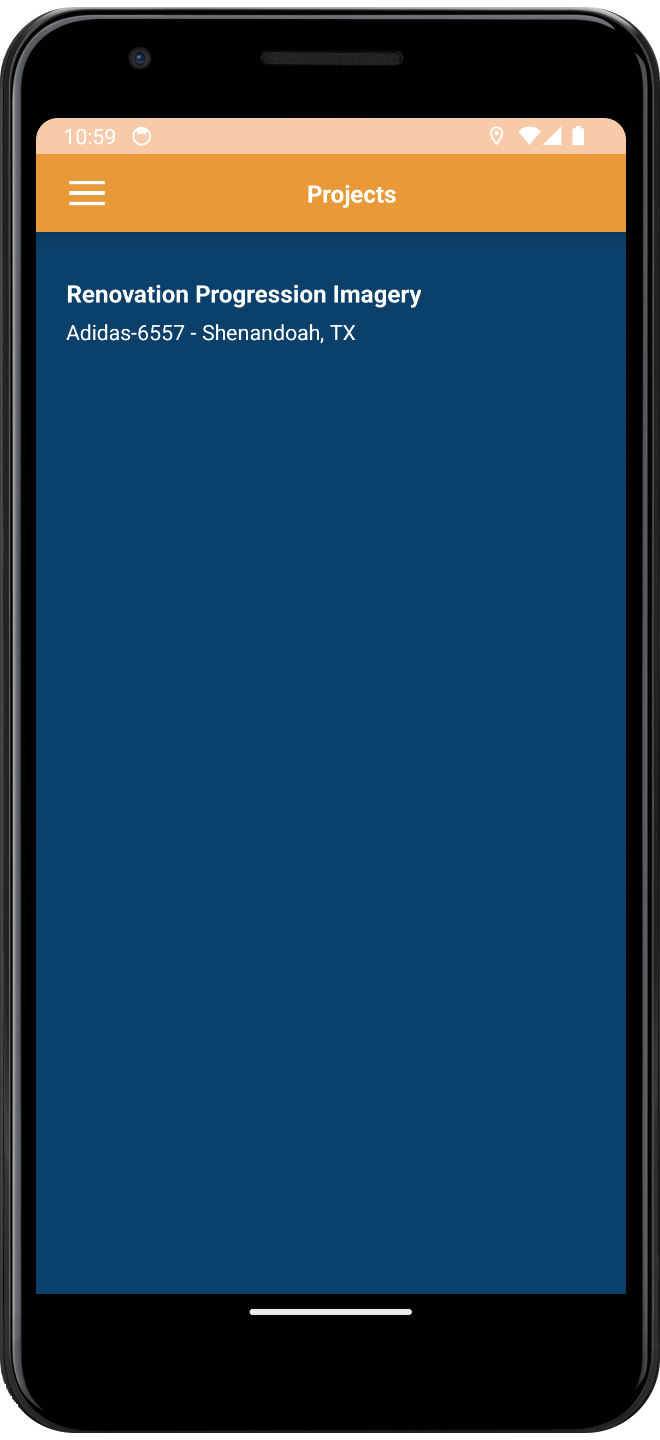
Offline Mode
FAQs
You may belong to more than one organization. Use the organization dropdown on the main menu to choose another organization.
Note: You may need access, if so, contact an IDS admin.
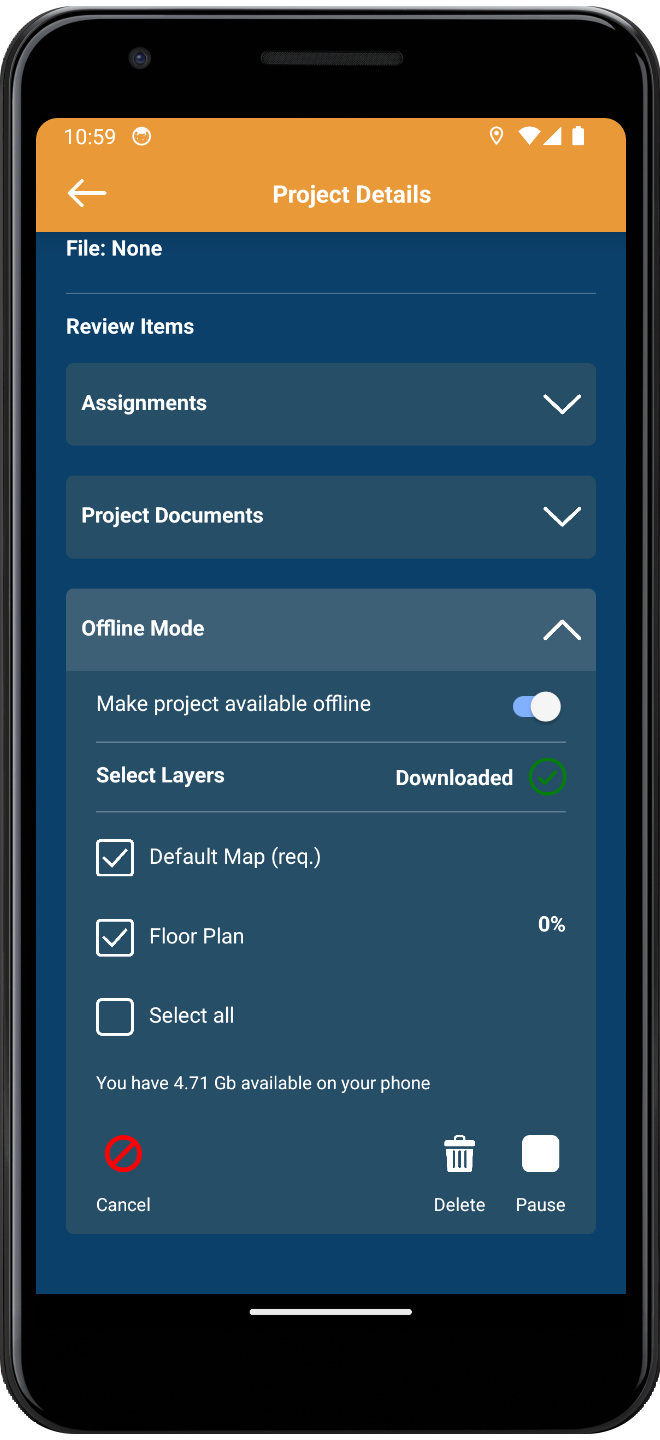
You need to switch the “Make project available offline” toggle to “on” in the project.
Troubleshooting:
– Wifi must be turned on for both devices (phone & camera).
– Ricoh camera firmware is up to date.
– If using android, make sure the settings under Connections > Wifi > (click three buttons in upper right hand corner) > Advanced > Switch to mobile data, is turned off.
– The camera you are using must be currently supported by IDS Capture – see camera list in Capture main menu.
– All permissions are allowed in the app settings.

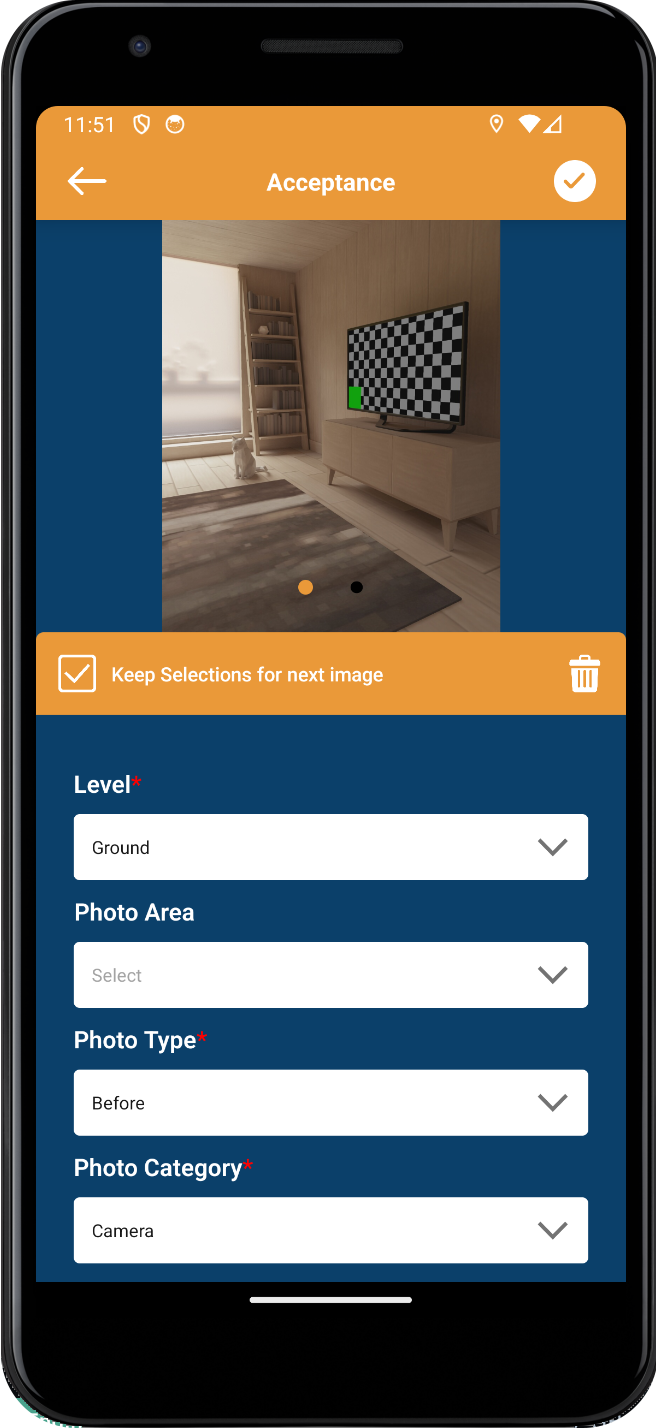
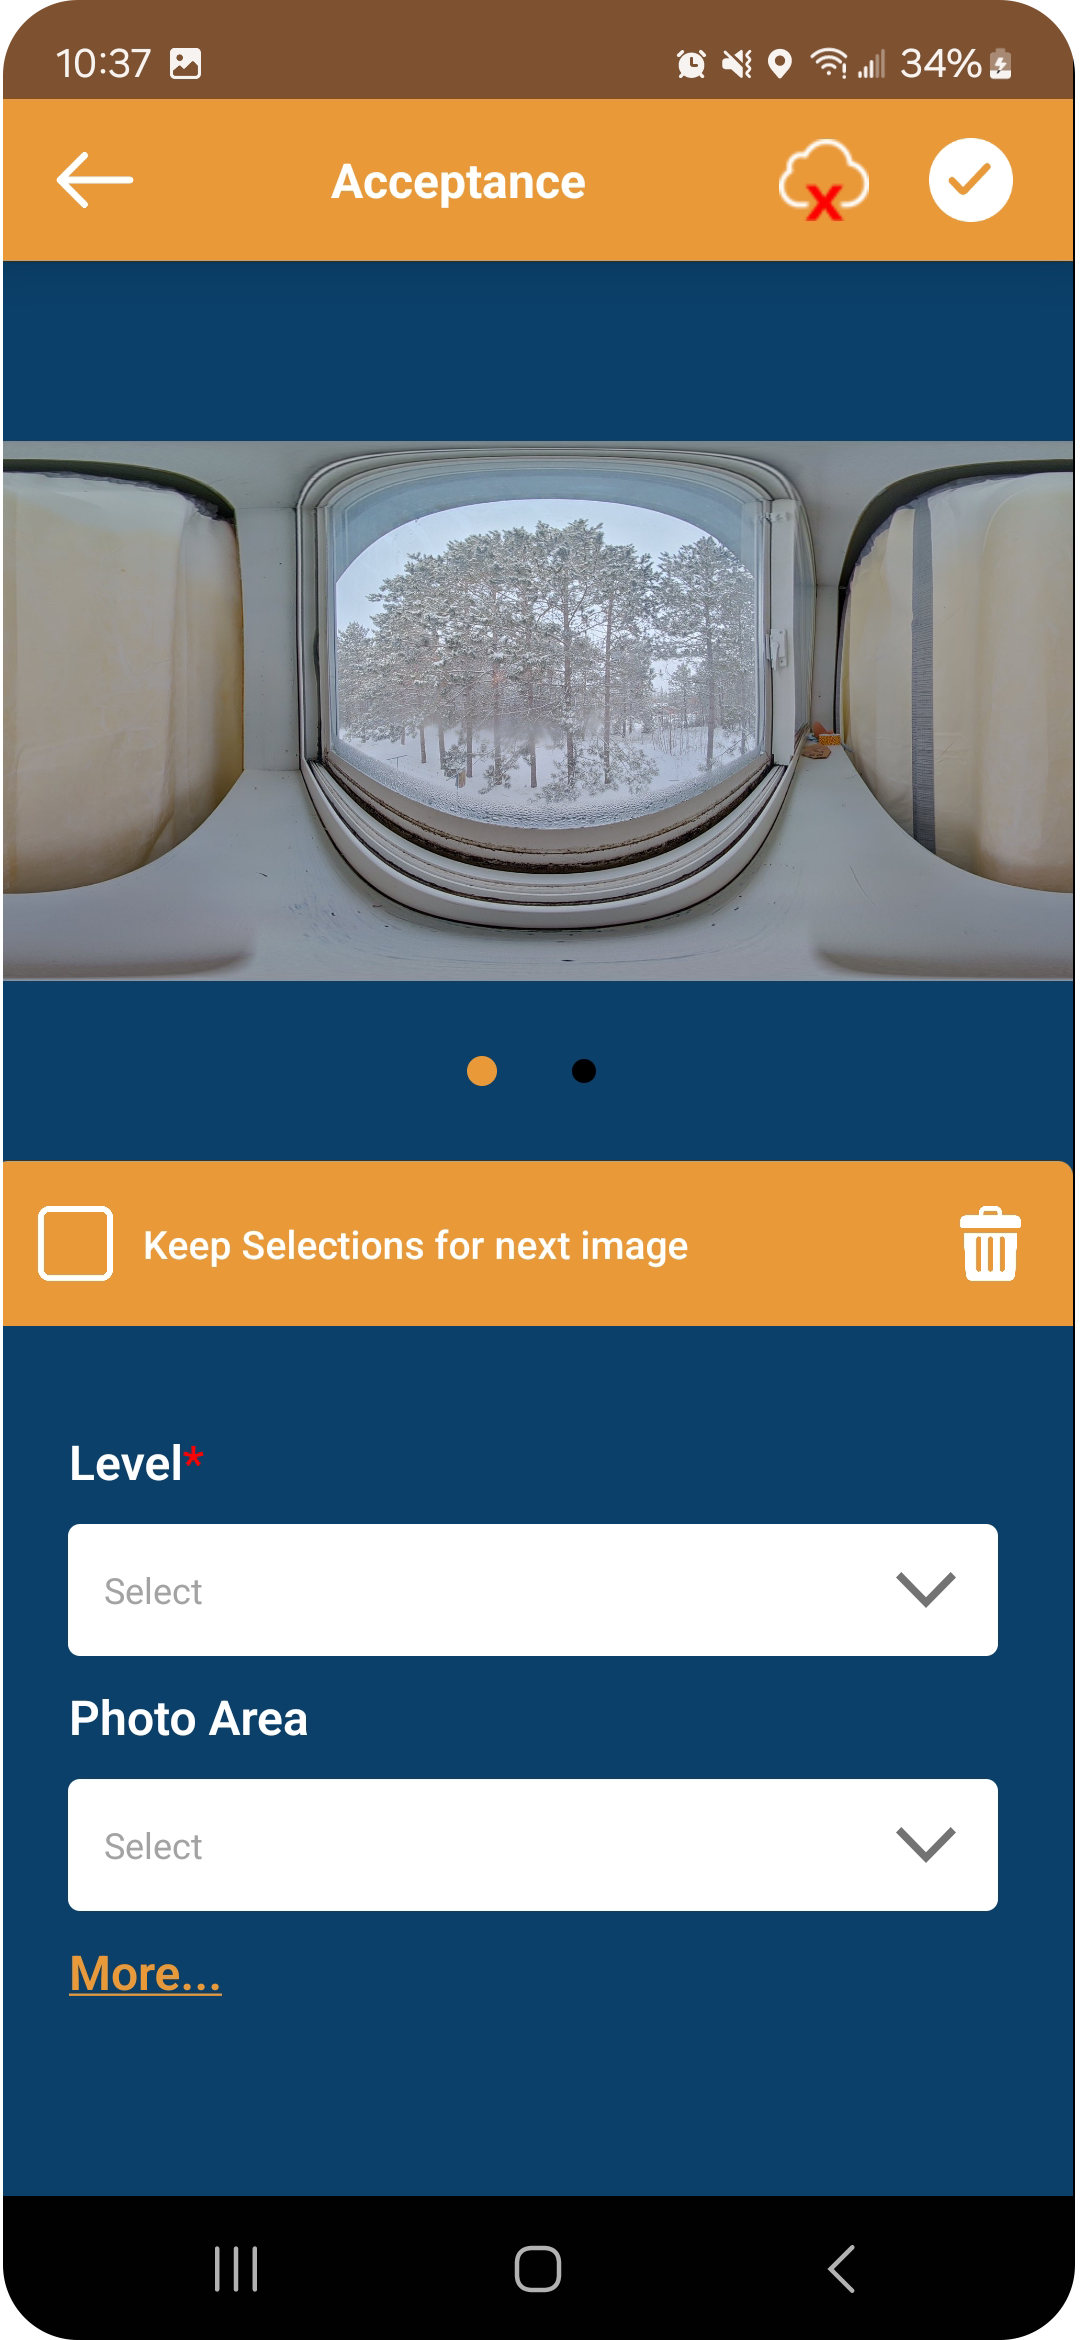
Certain pieces of image information may have changed; this needs to be updated before uploading. Review the images metadata and try again.
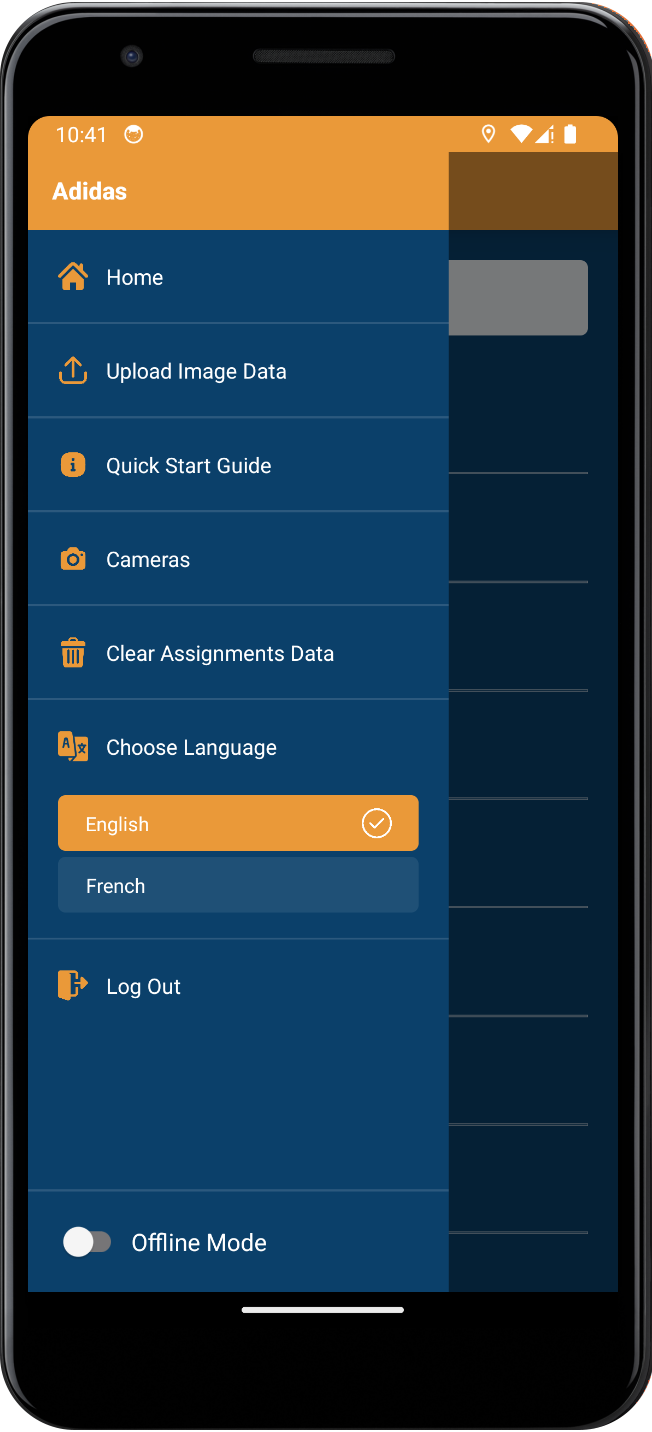
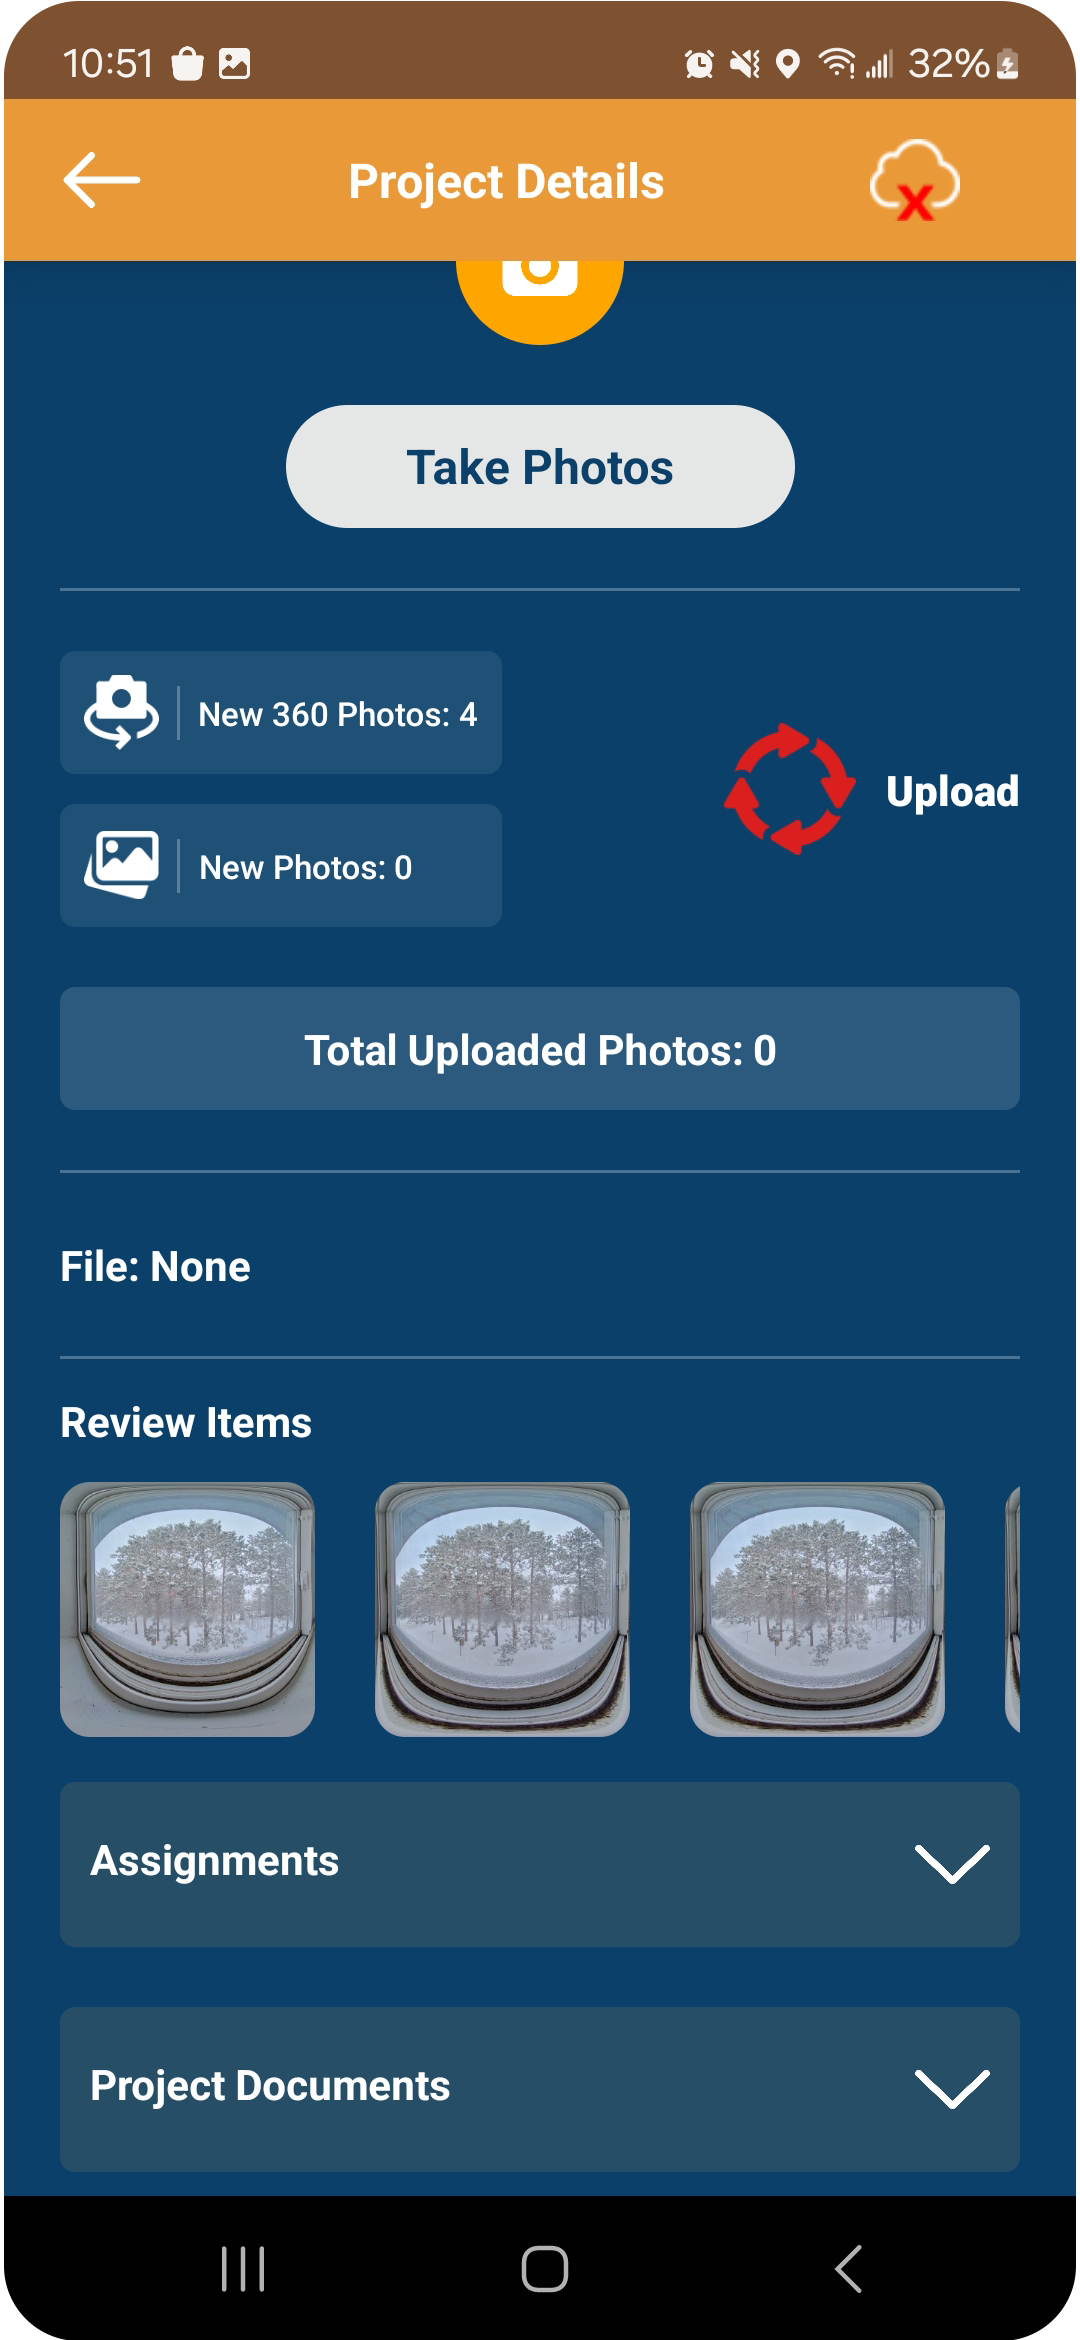
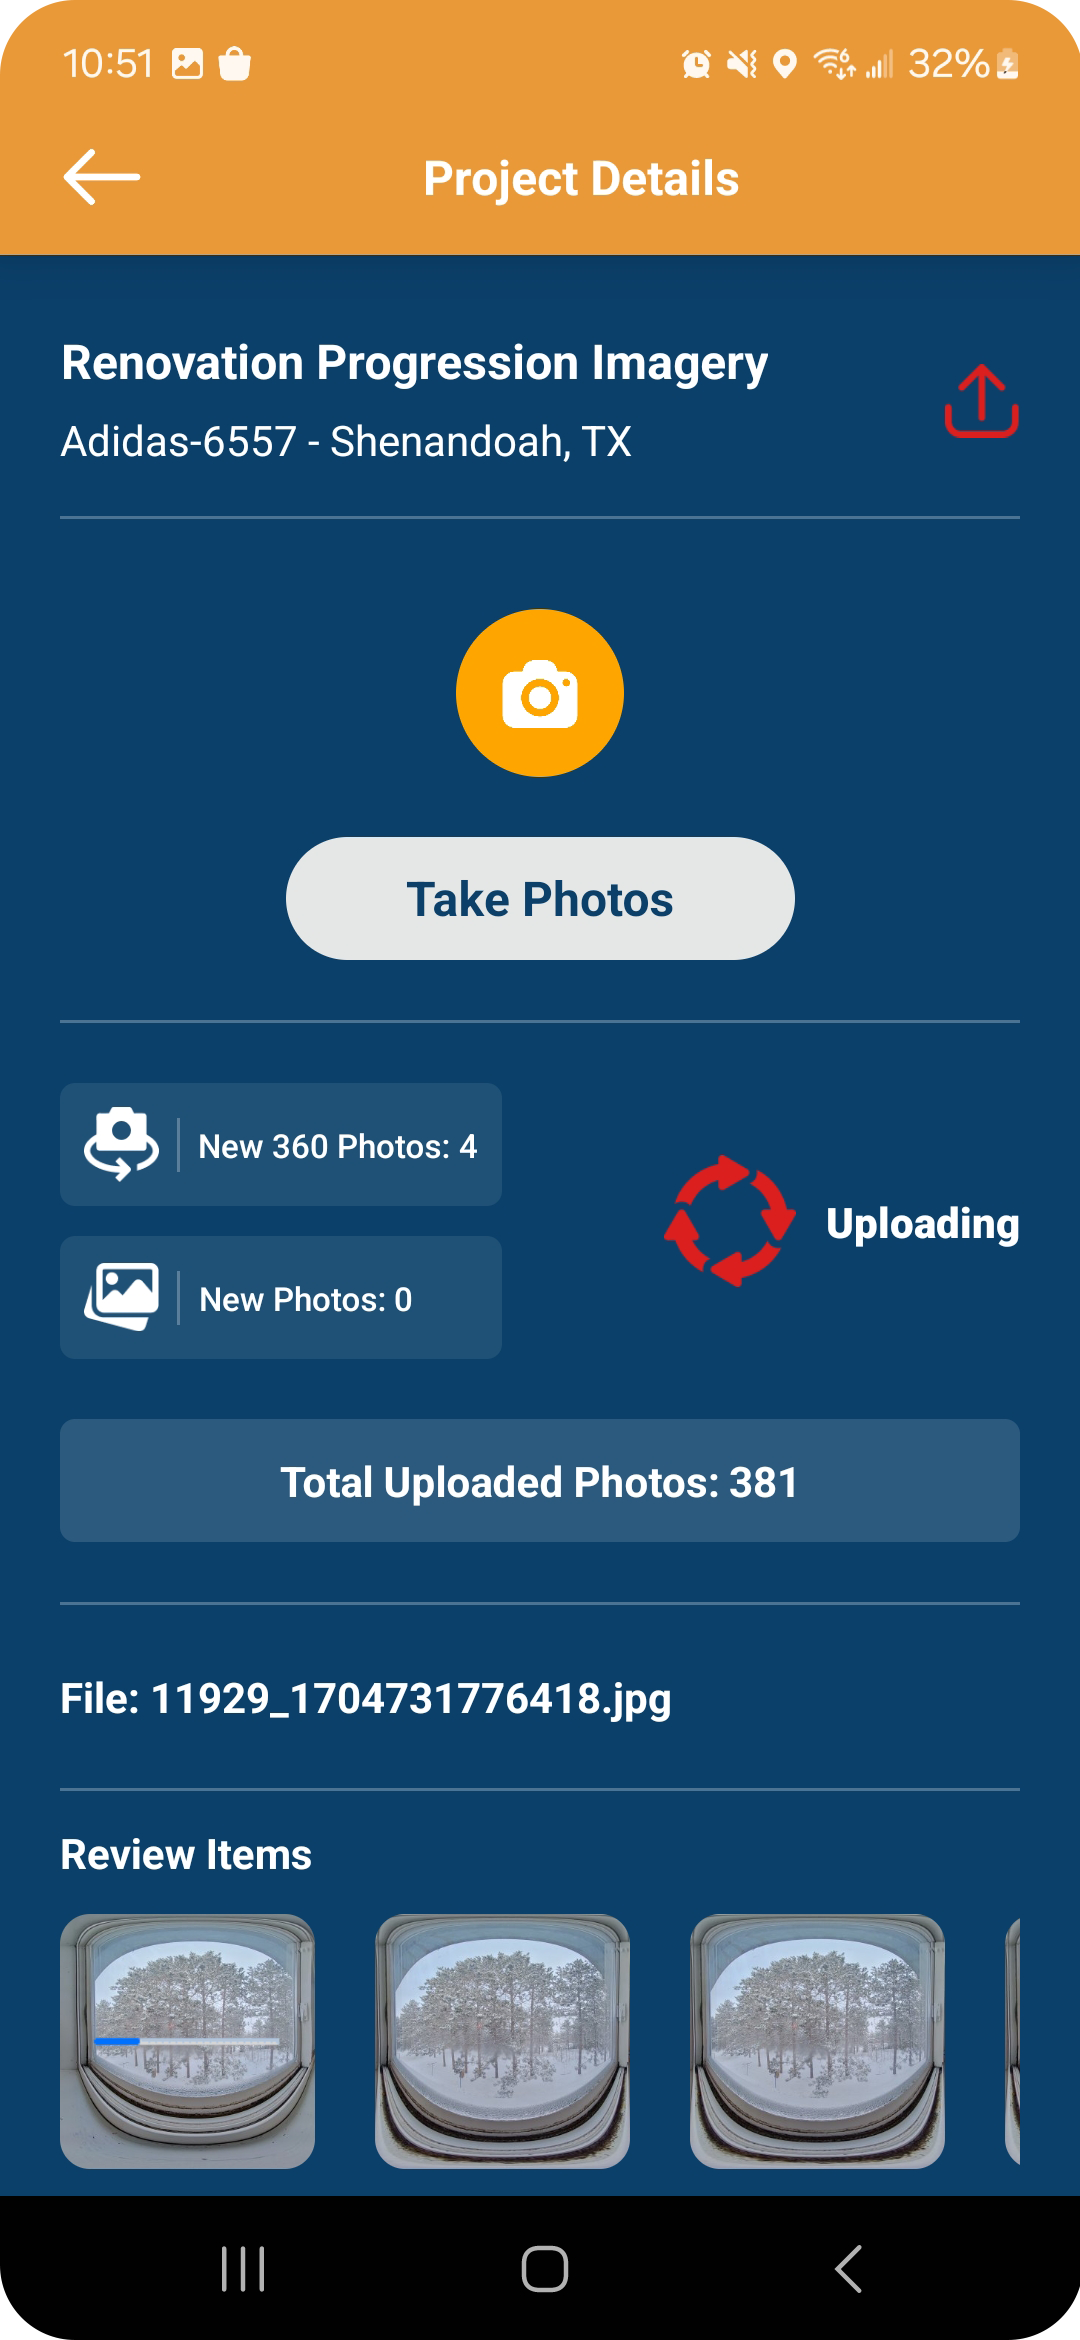
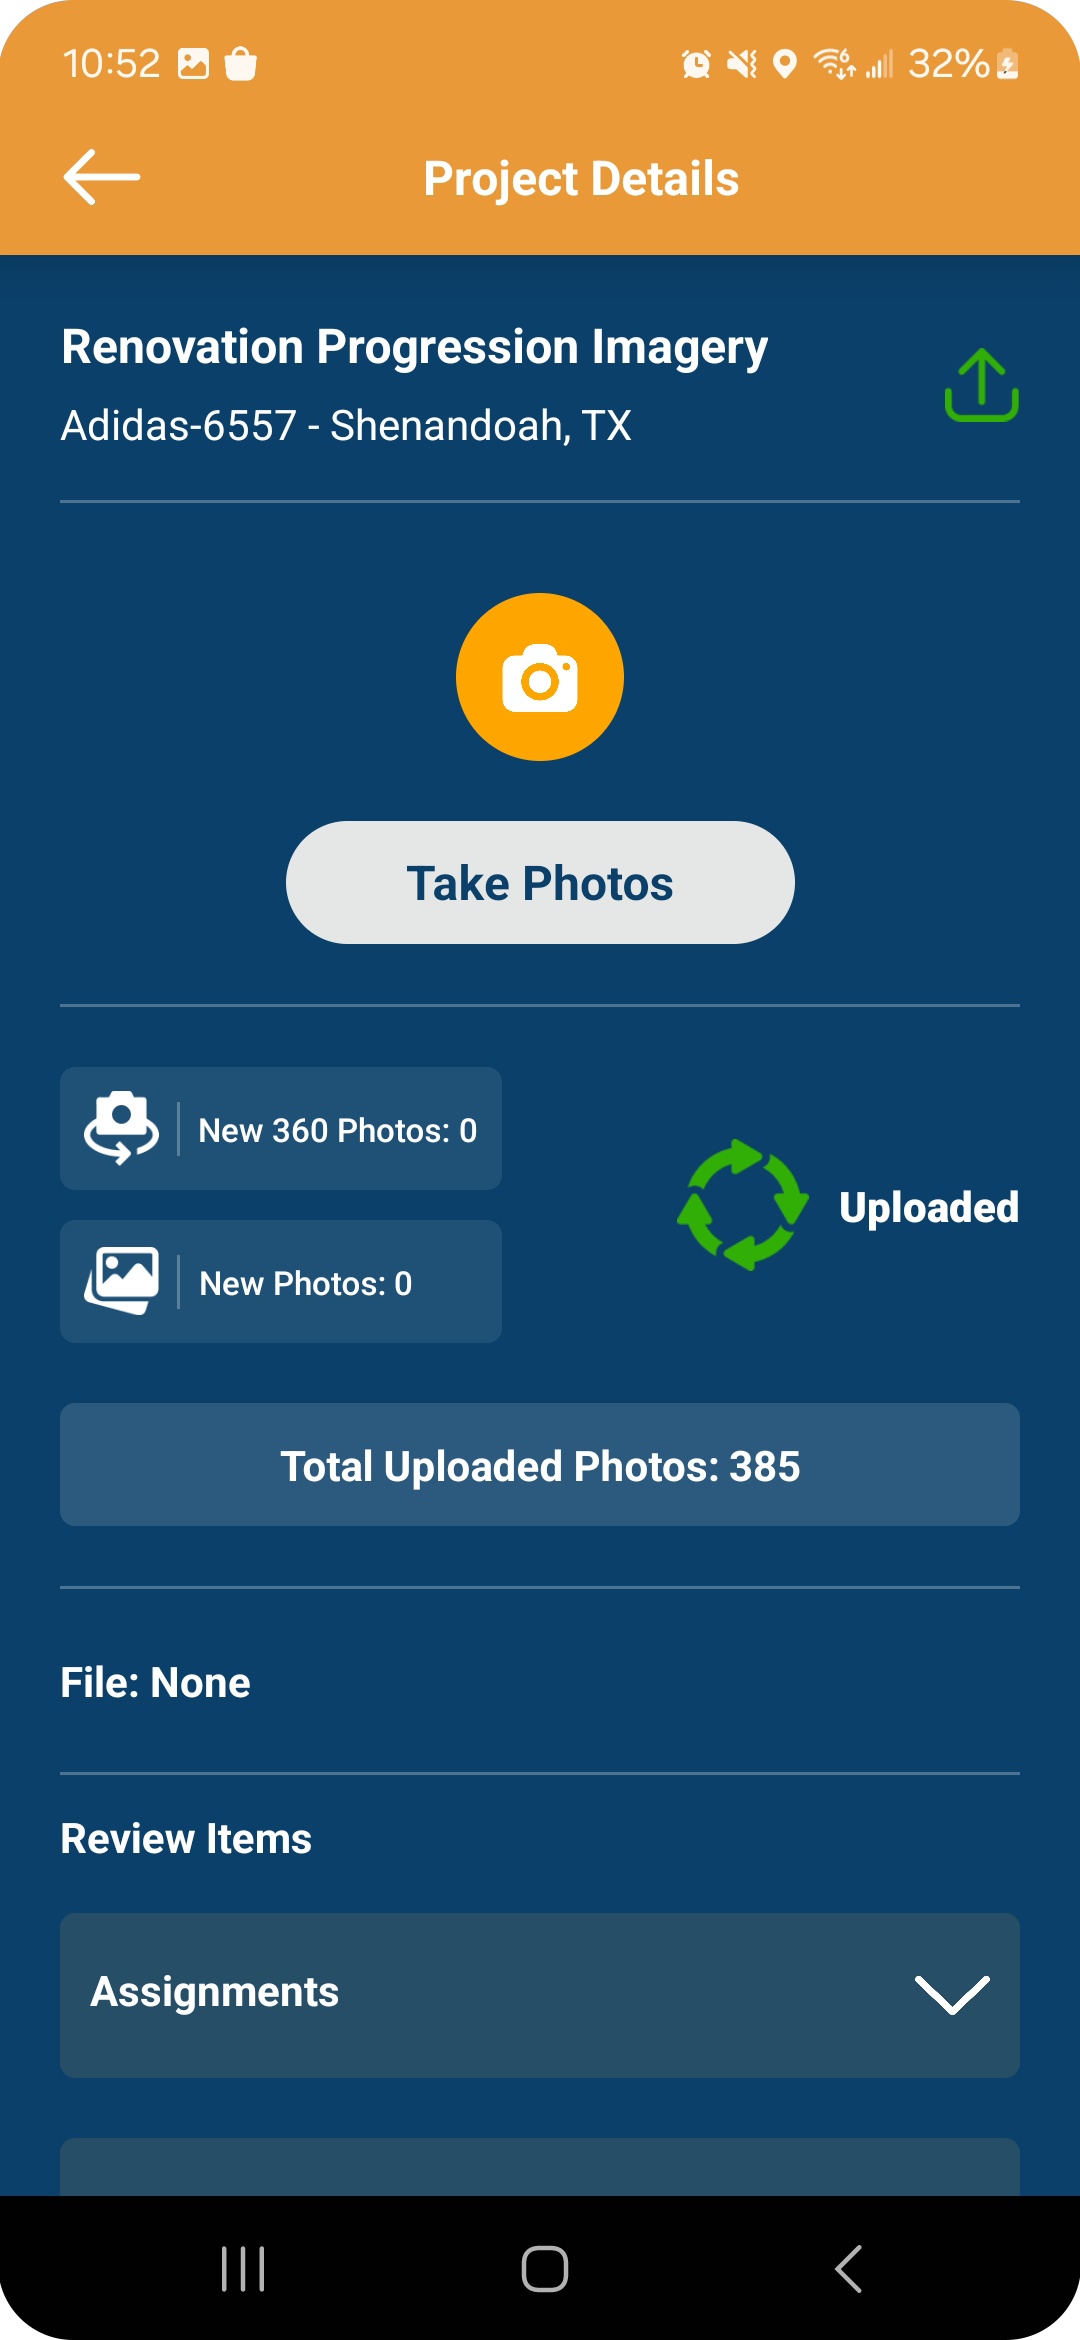
Go to “Upload Image Data” in the main menu, and here you will see all projects that still have images to upload.
Troubleshooting:
– You need to have a network connection to upload images.
– In settings, locate “IDS Capture.” Be sure “Read & Write” for photos is showing, camera, & cellular data are turned on.
– Image metadata has changed and needs to be updated.
– Notes cannot be more than 250 characters.
